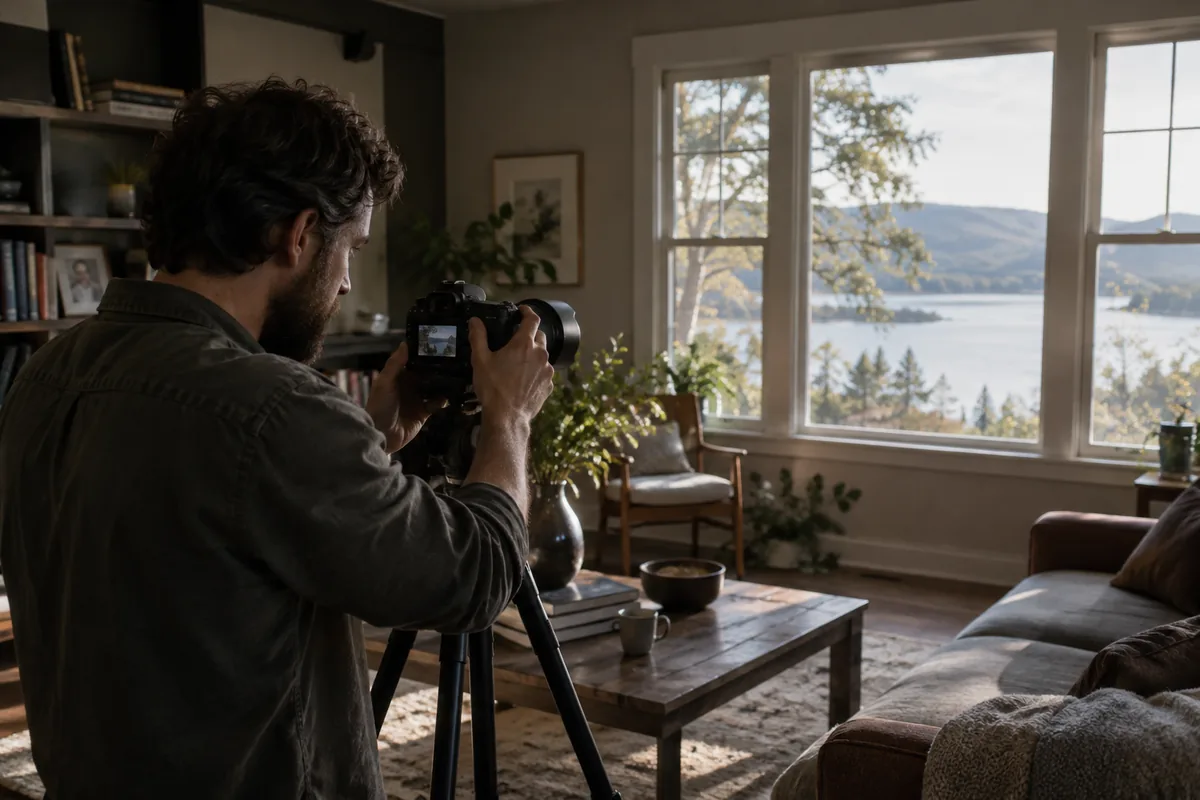
The camera sees a harder problem than your eyes
Human vision adapts as it moves between a bright window and a shaded room. A camera captures both in one fixed exposure. It usually protects the window and lets the room fall dark, or brightens the room and turns the window white.
Phone processing helps, but it often adds noise and uneven color in the shadows.
Capture a better starting file
Shoot during daylight, turn off strongly colored bulbs, clean the lens, hold the camera level around waist to chest height, and tap an area between the window and the darkest wall to set exposure.
- Use the main camera instead of digital zoom
- Avoid screenshots and messaging-app compression
- Keep the phone steady
- Take one slightly darker backup frame
Check whether the photo is recoverable
Before moving a slider, inspect the darkest important area at full size. If you can still trace the bed edge, cabinet joins, or wall texture, a restrained lift may help. If the area is featureless black, a generated texture would be a guess about the property. Do the same check on the bright window: the view must come from the source, not from reconstruction.
| Source problem | First action | Reason to stop |
|---|---|---|
| Dim room, readable edges | Lift shadows selectively | Grain overwhelms the recovered texture. |
| Bright window with visible detail | Protect highlights while lifting the room | The view becomes featureless white. |
| Orange or green walls | Correct the unwanted cast against a neutral reference | Real paint, timber, or lamp warmth changes. |
| Blurred furniture or black room corners | Find a sharper original or reshoot | The edit has to invent the missing detail. |
A free correction you can repeat
In GIMP, open the full-resolution original and choose Colors > Shadows-Highlights. Increase the shadow adjustment a little at a time, keeping an eye on the window and the darkest corner. Use the filter preview to compare against the source. If a bright area still has recorded detail, adjust highlights separately rather than making the whole room darker.
On a Mac, open the image in Photos, choose Edit > Adjust, and expand Light. Work with Shadows and Highlights separately, then use a modest Exposure adjustment if the whole frame needs it. Different files need different amounts: skip fixed slider recipes. These are manual editing options; they do not use ListPik credits.
- Change one control, compare, then make the next change.
- Use a known neutral surface to check unwanted color casts.
- Inspect the wall texture and bedding at full size before sharpening.
- Export a copy and retain the original for review.
Correct in the right order
Start with highlight and shadow balance. Then correct white balance, because lifting shadows often reveals an orange or green cast. Finish with local contrast and noise reduction.
Applying sharpening before noise reduction makes shadow grain more obvious and can create brittle edges around windows and furniture.
Check the finished photo in two views
At full size, look for grain, halos around window frames, waxy bedding, and shifted material colors. At thumbnail size, ask whether the room is readable and whether the main feature still sits inside the crop. If the brighter version looks good small but fails the property-detail check, reject it.
For a gallery, compare a normal room with the corrected one before repeating the edit. Preserve differences between a daylight kitchen and a warm evening bedroom. Consistency means compatible color and contrast, not forcing every room to the same brightness.
Know when to reshoot
If large areas are completely black, the window is pure white with no edge information, or the frame is blurred by movement, a new photo is more honest and faster than aggressive reconstruction.
Guides that pick up where this leaves off
- Complete real estate photo editing workflow
Light, color, geometry, review, and export in one complete process.
- AI lighting correction
When a reviewable automated pass is useful for a sound source file.
- Bedroom photo enhancement
Two colours of light in one frame, and why correcting to daylight kills the room.
- Bathroom photo enhancement
One warm bulb, no daylight, and a mirror pointed at the only place you can stand.
- Noise reduction
Brightening a dark room brightens the grain; where to stop before surfaces go waxy.
- Free listing photo checker
Flags dark frames, crushed shadows, blown windows, and color casts before you spend a credit.
Sources checked for this answer
Product and platform policies change. These were reviewed on September 28, 2026.
Related questions
Can I brighten a dark room photo for free?+
Yes. GIMP has separate shadow and highlight controls, and Photos on a Mac includes Light adjustments. Start from a sharp original, make small changes, and check windows and noise before exporting.
Why does increasing brightness wash out the window?+
A global brightness change affects the room and window together. Lift shadows separately and protect highlights. A window clipped to pure white has no reliable view detail to restore.
Why does my room look orange after brightening?+
Lifting shadows can reveal a color cast from warm bulbs or mixed light. Compare a genuinely neutral surface with the original and correct only the unwanted cast, keeping the real warmth of lamps.
When should I reshoot instead of using AI?+
Reshoot motion blur, missed focus, an unusable camera angle, or important areas with no recorded detail. Reject an AI result that invents a view, changes materials, or shifts furniture.
Property advertising rules vary. Review every enhanced image against the original and disclose material or generated changes wherever required.
Ready when the source is
Turn the useful photos into a consistent listing set.
Start with three included credits. Keep the result only after it holds up beside the original.