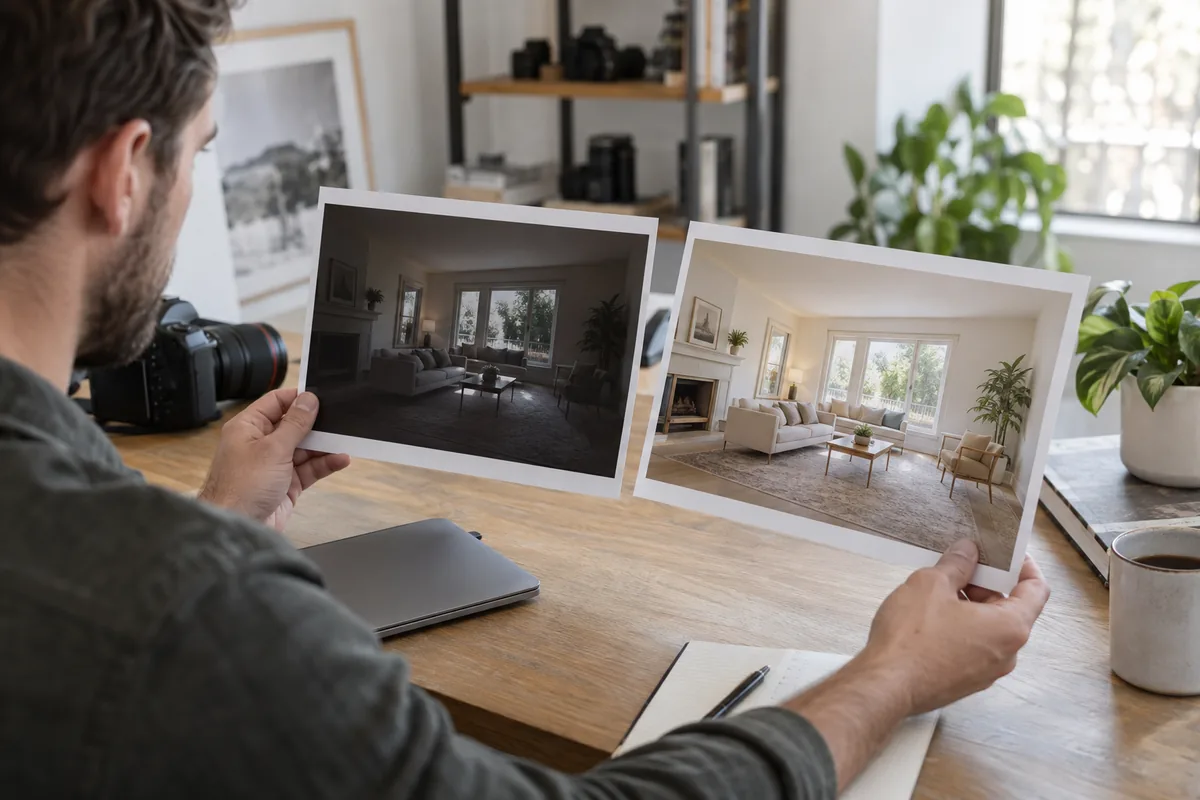
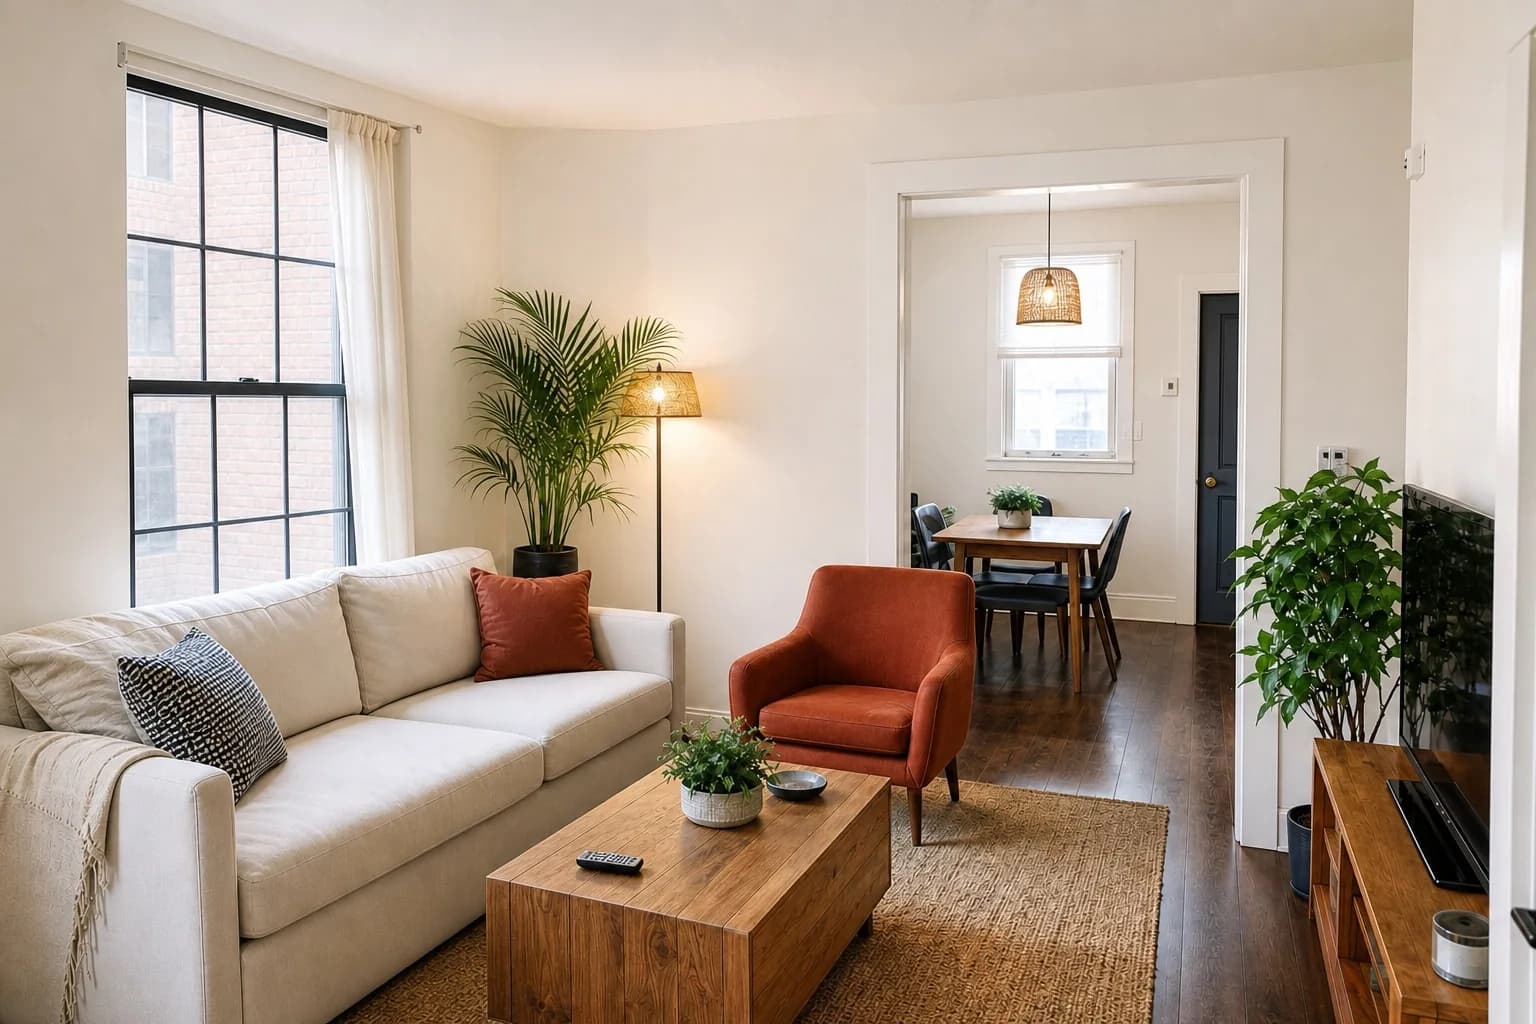
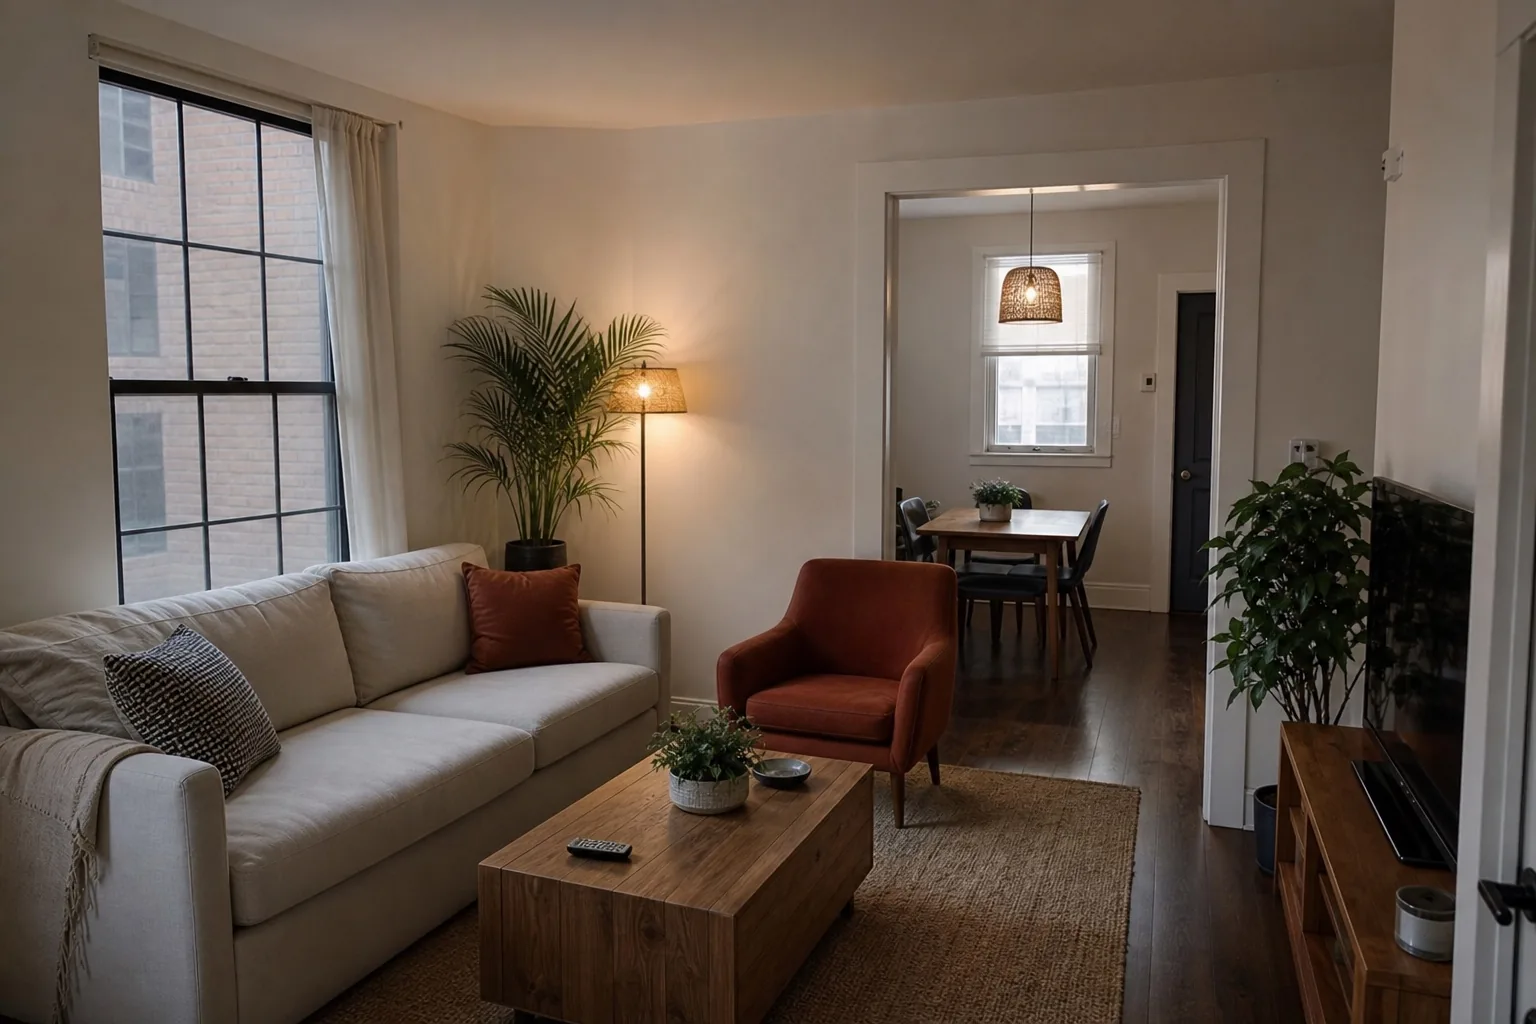
A worked example: a dark room with a bright window
In the comparison below, the source problem is uneven exposure: the window is much brighter than the room. The brighter version makes the sofa fabric and floor easier to read. That is only the first check: compare the window opening, furniture, wall finish, and floor area with the source before approving it. Move the slider and check those fixed property facts before judging whether the brighter result looks appealing.
If a source window is clipped to flat white, there is no reliable view detail to recover. If the edit paints in scenery, shifts furniture, or widens the room, reject it even if the thumbnail looks attractive. Look closely at the rear door handle in this demonstration: it appears warmer in the brighter version. Check the real finish before accepting that color shift. This is a demonstration created for ListPik, not a customer result or a promise that every detail survives an AI edit.
- Compare the window frame and view against the source.
- Check furniture edges and floor proportions for stretching.
- Confirm wall and material colors remain plausible.
- Reject invented detail instead of treating it as recovery.
Start with a photograph worth improving
AI enhancement works best when the camera position, focus, composition, and visible property details are already accurate. Use the largest original file, not a screenshot or a copy compressed by a messaging app.
Reshoot when the angle hides a room, the image is strongly blurred, important highlights are completely white, or large shadow areas contain no detail. Those are capture failures, not finishing problems.
- Use the original JPG, PNG, or WebP
- Choose a level, useful angle
- Remove real clutter before shooting
- Reshoot missing detail instead of generating it
Edit real estate photos for free before trying AI
For a few sound source photos, manual correction may be enough. On a Mac, Photos includes separate light controls: open the image, choose Edit, then Adjust, and expand Light. Use Shadows to recover the dim room and Highlights to protect the bright areas, with a small exposure change only if the whole frame needs it. Keep the original available for comparison.
GIMP is a free option across desktop platforms. Open Colors > Shadows-Highlights to adjust dark and bright zones separately. Keep changes small, then compare wall color, windows, and furniture against the source. These controls make routine finishing possible without a subscription; they still need your judgment, and no single slider recipe works for every room.
| Pass | Look for | Stop when |
|---|---|---|
| Light | Readable bed, sofa, and room corners | The window loses detail or surfaces turn flat gray. |
| Color | Neutral surfaces without changing paint or timber | Warm lamps turn blue or one wall changes color. |
| Geometry | Level horizon and upright door frames | Furniture stretches or an important fixture is cropped out. |
| Noise and sharpening | Readable texture at full size | Bedding turns waxy or bright outlines appear around edges. |
| Export | A sharp copy with enough pixels after cropping | Compression, blur, or a tight crop loses useful detail. |
Correct light before adding style
Balance the room and its brightest windows first. Lift useful shadow detail without flattening the scene, and protect highlight detail that still exists in the source. A good result should resemble a well-exposed photograph, not a synthetic HDR rendering.
Airbnb's own host guidance recommends editing brightness, contrast, and highlights. The practical boundary is to improve how the camera recorded the stay without making the stay itself look newer, larger, or better equipped.
- Exposure and highlight balance
- Natural local contrast
- No fake light sources
- No replacement view
Fix color, geometry, noise, and clarity in that order
Correct unwanted orange, blue, or green casts before judging material color. Then straighten mild camera tilt and converging verticals, accepting a small crop instead of stretching the room. Reduce shadow noise before applying restrained sharpening.
This order keeps one correction from amplifying another problem. Sharpening first can make noise brittle; saturation before white balance can make paint and timber inaccurate.
- White balance
- Verticals and horizon
- Noise reduction
- Restrained clarity
Run a property-fact comparison
Place the result beside the source and inspect it once at full size and once at listing-thumbnail size. Check doors, windows, built-ins, appliance edges, furniture, materials, exterior boundaries, neighboring context, views, and visible condition.
If a buyer or guest could form a different factual expectation from the edit, reject it. A polished image should be defensible without an explanation of what the software changed.
Export a consistent set, not identical rooms
Use one restrained finishing standard across the gallery while preserving the real mood of each space. A warm bedroom, shaded balcony, and bright kitchen do not need identical exposure; they need compatible color, contrast, and geometry.
Start with the cover, main living space, primary bedroom, exterior, and defining amenity. Those images answer the most important viewer questions first.
- Check the first five images together
- Remove near-duplicates
- Keep practical access and amenity proof
- Archive originals with the exports
Real estate photo editing tips that hold up
Most weak listing edits come from the right correction applied in the wrong amount. These habits apply whether you edit in Lightroom, Photoshop, a phone app, or an AI tool.
- Edit the whole set in one sitting so the rooms match
- Pull highlights down before pushing shadows up
- Set white balance from a white wall or ceiling, not the floor
- Fix verticals with a crop instead of stretching the frame
- Keep saturation near the original; paint and timber colors are facts
- Check every edit at thumbnail size, where most viewers first see it
- Leave permanent defects, views, and finishes exactly as they are
Use a tool with a visible stop
A suitable property-photo enhancer should keep the original available, make the result easy to reject, and state what it is not meant to change. ListPik is built around that review-first workflow: upload a useful source, choose an interior or exterior direction, compare, then export only after the property facts hold up.
For complex compositing, luxury campaigns, missed camera angles, or severe source problems, use a skilled retoucher or photographer instead. The best tool is the narrowest one that can truthfully solve the actual problem.
Guides that pick up where this leaves off
- Fix dark interior photos for free
A shadow and window correction workflow with clear stop conditions.
- Free photo size and exposure checker
Check the source in your browser before editing it.
- Property colour correction
Why a consistent gallery is not one where every room has the same brightness.
- Perspective correction
Straightening always costs you frame — usually the corner that showed the room's size.
- Kitchen photo enhancement
Cabinet colour is a factual claim, and it is the surface most likely to shift under correction.
Sources checked for this answer
Product and platform policies change. These were reviewed on September 28, 2026.
Related questions
What can AI safely improve in a real estate photo?+
AI is best used for exposure, white balance, mild perspective, noise, restrained sharpening, and careful presentation cleanup. The property facts should remain unchanged.
Can AI fix a blurry real estate photo?+
It may improve mild softness, but motion blur, missed focus, or missing detail usually calls for a reshoot. Enhancement cannot recreate reliable evidence the camera did not capture.
Should AI-enhanced listing photos be disclosed?+
Rules differ by marketplace, MLS, and location. Material or generated changes may require a label and the original image, so check the rules that apply before publishing.
Property advertising rules vary. Review every enhanced image against the original and disclose material or generated changes wherever required.
Ready when the source is
Turn the useful photos into a consistent listing set.
Start with three included credits. Keep the result only after it holds up beside the original.