Perspective
Straighten leaning walls in interior photos.
Correct verticals, horizons, and mild wide-angle distortion for a composed architectural look.
More structure, without pretending the room is wider than it is.
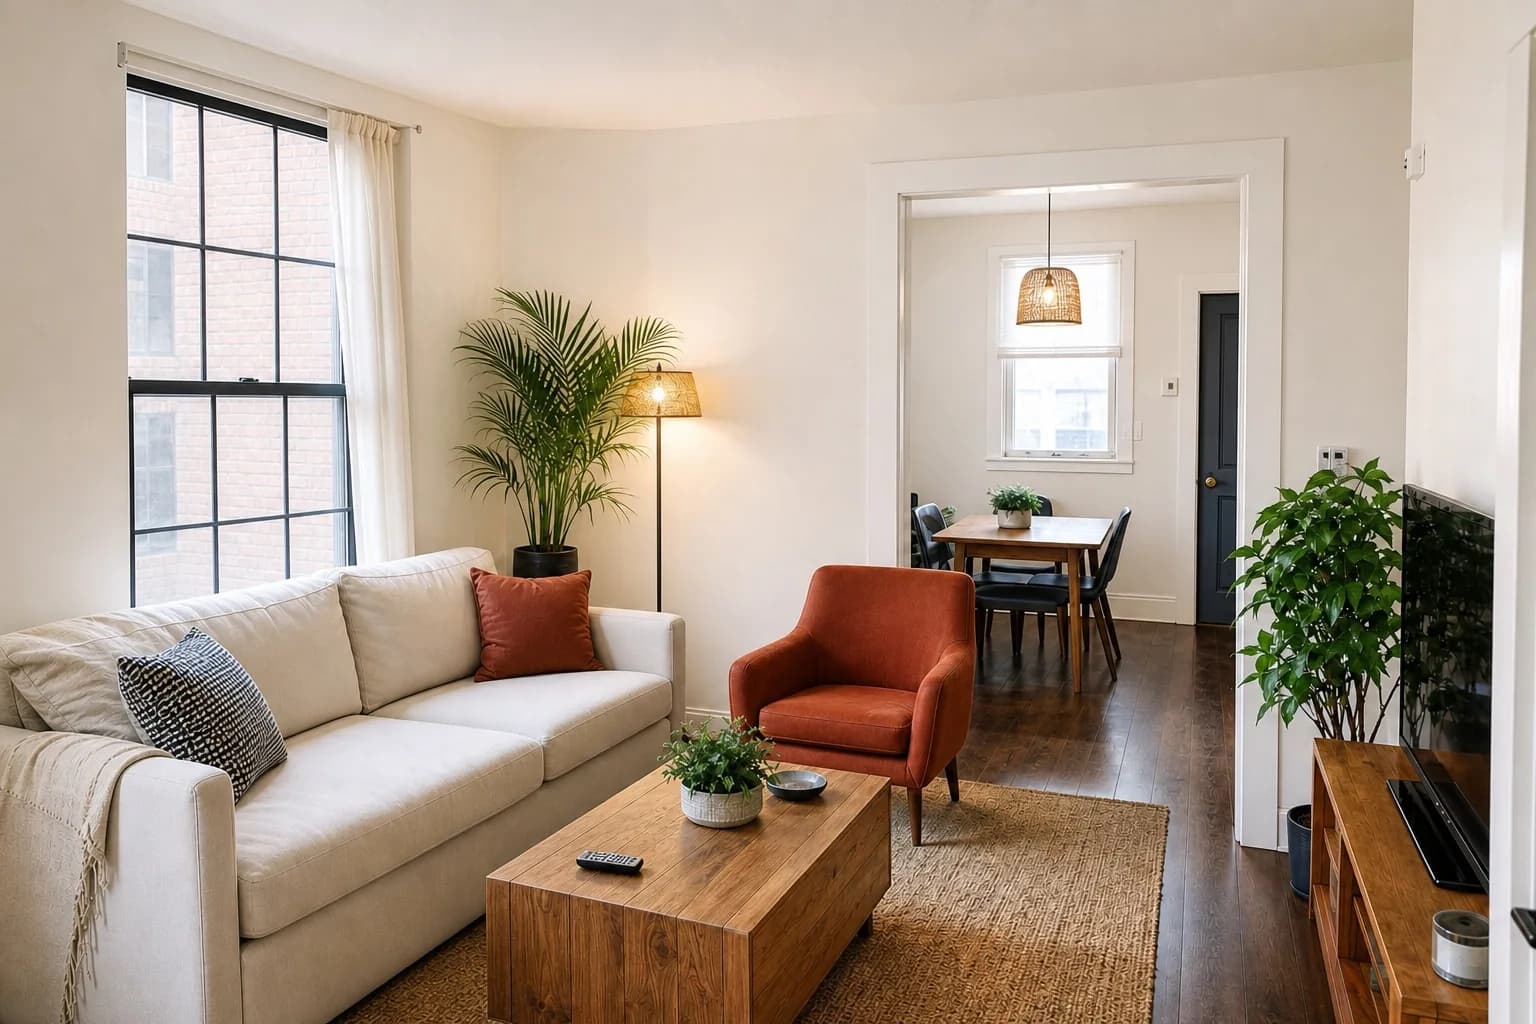
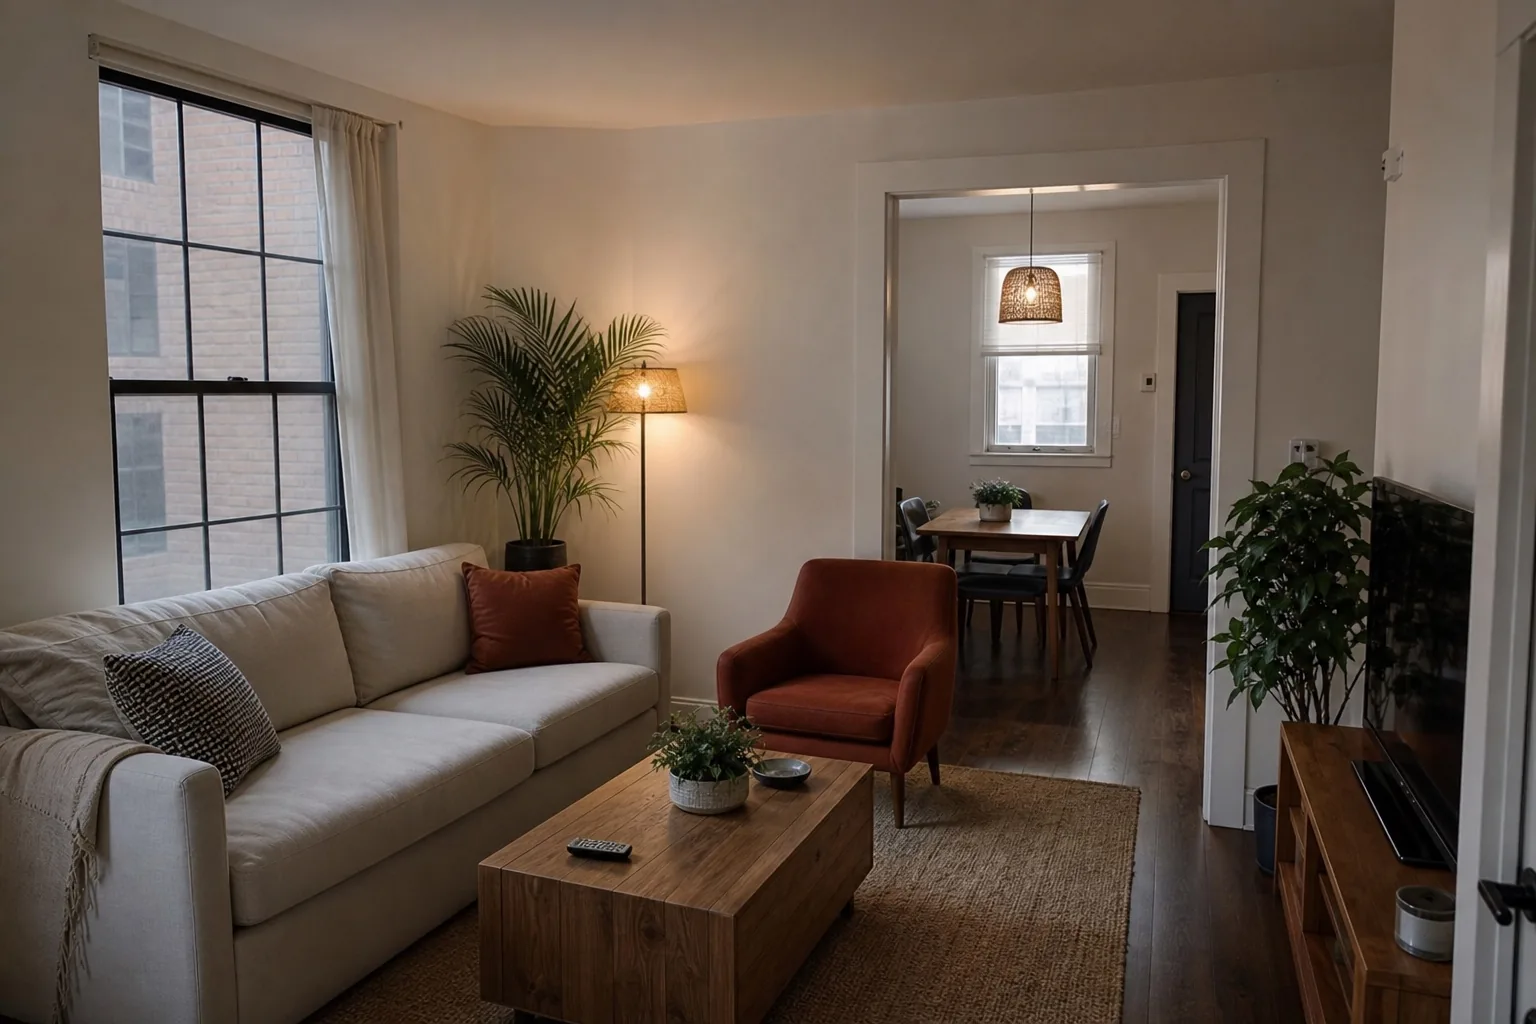
The problem
Shooting upward makes every wall lean inward.
A phone held at chest height rarely stays perfectly level. Wide lenses exaggerate that small tilt, making cabinets, door frames, and corners converge toward the ceiling.
Our method
Correct geometry before polishing color.
ListPik identifies architectural lines, applies a measured perspective correction, and crops only what is necessary. Lighting and color are refined after the composition is stable.
Correction always costs you frame
Straightening converging verticals means rotating the image plane, which leaves empty wedges at the edges that have to be cropped away. The more severe the tilt, the more of the room disappears in the correction. A photo shot with the camera angled sharply upward to fit the ceiling can lose fifteen per cent of its width once it is squared up, and what goes first is the outer edge of the frame — often the wardrobe, the doorway, or the corner that established the room's size.
This is the argument for holding the camera level at the point of capture rather than relying on correction. A level camera at chest height produces a file that needs almost no geometric work and keeps everything that was in the viewfinder.
Straight lines are what read as professional
Most people cannot say why an amateur interior photo looks amateur, but the answer is usually geometry rather than exposure. Door frames that lean, skirting boards that curve, and worktops that tilt are read instantly as a snapshot, even when the lighting is good. Conversely a modestly lit room with perfectly vertical lines reads as considered.
The limit is that correction restores the geometry the scene actually had. It cannot widen a room, extend a wall, or change the apparent floor area, and a correction pushed far enough to attempt that starts producing visibly stretched furniture at the frame edges.
- Hold the camera level rather than tilting up to include the ceiling
- Shoot at about chest height for most interior rooms
- Back into a corner rather than standing in the middle of the room
- Use the phone's built-in level indicator if it has one
Where it fits
Use enhancement when the photograph is the problem.
The source is structurally useful
The camera position and important property details are already present, but the photographic finish is weak.
One correction carries the frame
The image needs a focused improvement in light, color, clarity, geometry, or presentation.
A reshoot is disproportionate
The listing deadline is close or one weak frame is holding back an otherwise useful set.
A three-part desk
Fast enough for the deadline. Deliberate enough for the listing.
- 01
Upload the original
Use the largest source file and choose an interior or exterior finishing direction.
- 02
Review the evidence
Inspect the result beside the source. The property should remain immediately recognizable.
- 03
Export with context
Download the approved image and follow the disclosure rules that apply to your listing.
Desk specification
What goes in, what comes back, and what to inspect.
Useful limits are part of a reliable workflow. Start from the best available source and approve the finished frame against visible property facts.
Before you publish
- Confirm door frames and window reveals are parallel to the image edge.
- Check the crop has not removed storage or features that establish room size.
- Look for stretched furniture at the frame edges from over-correction.
- Verify the floor still meets the walls at a believable angle.
Specific answers
What to know before processing.
Will straightening crop the photo?+
A small crop is often required to remove empty edges created by geometric correction. Important room content is prioritized.
Can it fix fisheye distortion?+
It handles normal phone and wide-angle distortion. Severe fisheye images may need a dedicated lens profile or reshoot.
Does a straight photo make rooms look larger?+
It restores visual order and true proportions. It should not create artificial width or depth.
Start with one frame
Let the comparison make the case.
Packs or optional monthly. One credit per finished photo. Review before you publish.
Open the studio