Kitchen photo enhancement
Give kitchen photos accurate cabinet colour and clean detail.
Control worktop glare and stainless reflections while keeping cabinet colour, splashback, and appliance detail exactly as they are.
The single room buyers zoom into, finished so it survives the zoom.
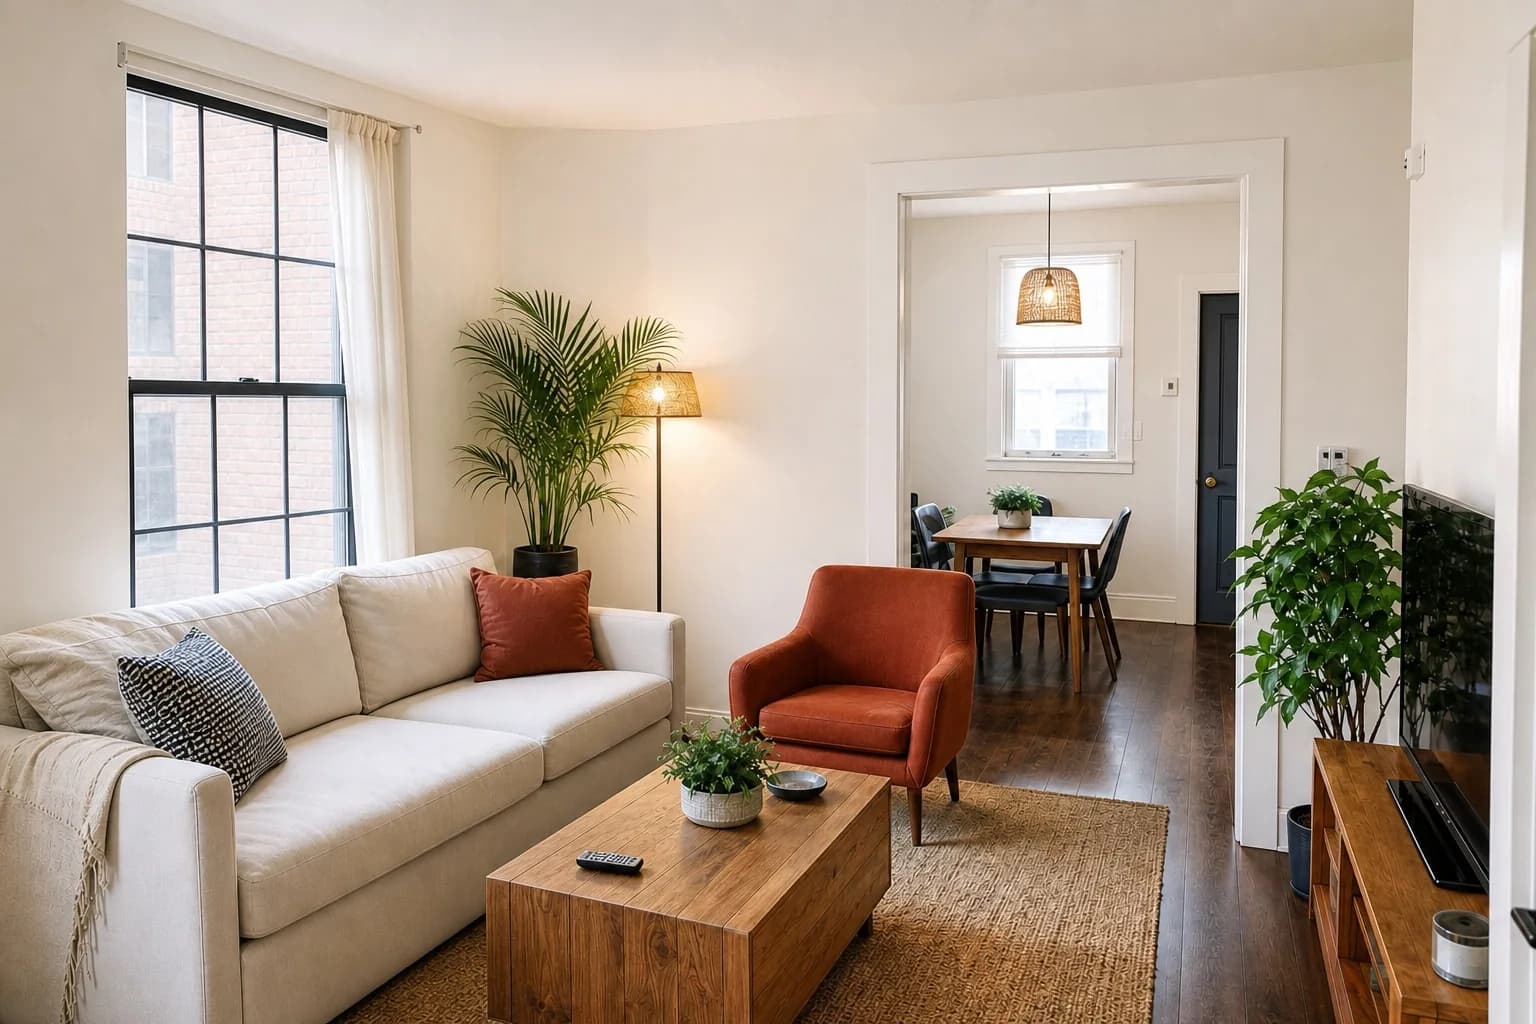
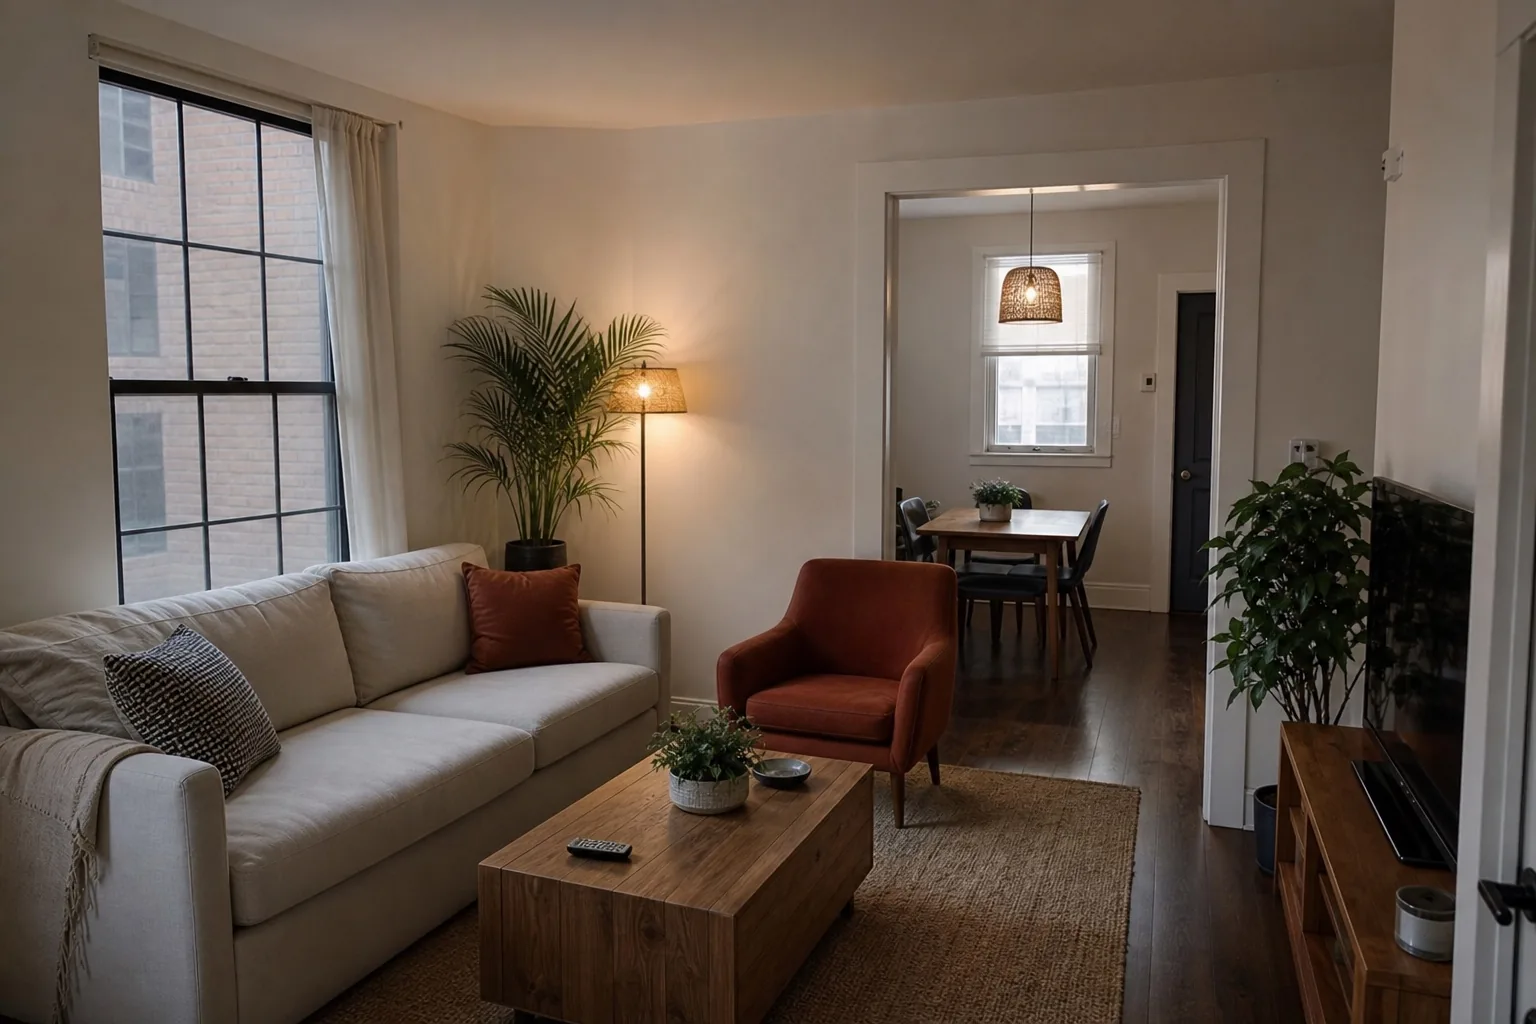
The problem
Every surface in a kitchen reflects a different light.
Gloss cabinet doors mirror the ceiling lights, stone worktops throw specular highlights straight into the lens, and stainless appliances pick up a green cast from whatever is behind the photographer. Under-cabinet strips add a fourth colour temperature at exactly the height the camera is metering.
Our method
Tame the highlights before touching global exposure.
ListPik restrains the blown reflections on worktops and gloss fronts first, then balances the room. That order matters: brightening a kitchen globally pushes every specular highlight past white, and once a worktop reflection clips there is no grain of stone left to recover.
Cabinet colour is a factual claim
More than any other room, kitchen photos get challenged. A buyer who arrives at a viewing expecting sage green cabinets and finds grey-green ones remembers the photograph, and agents field the complaint. Kitchen units are also the surface most likely to shift colour under correction, because a large flat expanse of mid-tone paint is exactly what automatic white balance latches onto.
The safe approach is to balance against a known neutral that is not the cabinets — a white ceiling, a white worktop edge, or a white appliance panel — and then verify the cabinet colour against the source at full size. If the correction moved the units, the correction is wrong even if the room looks better.
Under-cabinet lighting and the metering trap
Under-cabinet LEDs sit at worktop height, which is roughly where a camera held at chest height meters the scene. The camera sees a bright band, stops down, and the rest of the kitchen goes dark. The result is a photo with a glowing worktop and a black floor, which reads as a smaller, dimmer kitchen than it is.
Turning the under-cabinet lights off and relying on ceiling lights plus daylight usually produces a more correctable file. If the under-cabinet lighting is a selling feature, shoot it as a separate detail frame rather than letting it dictate the exposure of the main image.
- Clear worktops completely — kettles and toasters date a photo faster than anything
- Shoot from the doorway corner so the run of units leads into the frame
- Turn off under-cabinet strips for the main frame
- Wipe stainless surfaces; fingerprints are very visible once clarity is lifted
Where it fits
Use enhancement when the photograph is the problem.
Reflections wrecked the exposure
Gloss fronts or a stone worktop pushed the camera into underexposing the whole room.
Mixed lighting shifted the units
Under-cabinet, ceiling, and window light disagree and the cabinet colour has drifted.
The kitchen is clean and current
Nothing needs removing or upgrading; the photograph is what is letting the room down.
A three-part desk
Fast enough for the deadline. Deliberate enough for the listing.
- 01
Upload the original
Use the largest source file and choose an interior or exterior finishing direction.
- 02
Review the evidence
Inspect the result beside the source. The property should remain immediately recognizable.
- 03
Export with context
Download the approved image and follow the disclosure rules that apply to your listing.
Desk specification
What goes in, what comes back, and what to inspect.
Useful limits are part of a reliable workflow. Start from the best available source and approve the finished frame against visible property facts.
Before you publish
- Hold cabinet colour against the original at full size — a shifted unit colour is a factual error.
- Confirm worktop texture survived; a clipped white band means the highlight went past recoverable.
- Check appliances are the same appliances, in the same positions, with the same finish.
- Look for haloing along the top edge of wall units where clarity was applied.
Specific answers
What to know before processing.
Why do my kitchen photos look dark despite good lighting?+
Under-cabinet lights sit at metering height and fool the camera into stopping down. Turn them off for the main frame and the rest of the room exposes correctly.
Can clutter cleanup remove the appliances on my worktop?+
Small loose items like a kettle or a chopping board are reasonable candidates. Built-in and freestanding appliances are part of what is being sold and must stay.
Will enhancement change my cabinet colour?+
It should reveal the real colour more accurately, not recolour the kitchen. Cabinet colour is the first thing to verify against the original before publishing.
Start with one frame
Let the comparison make the case.
Packs or optional monthly. One credit per finished photo. Review before you publish.
Open the studio