Hotel room photo enhancement
How to fix dark hotel room photos without changing the room.
A practical hotel photo fix: balance window and room light, correct orange casts, and check bed type, accessibility features, and views before publishing.
A consistent gallery in which each category is still distinguishable.
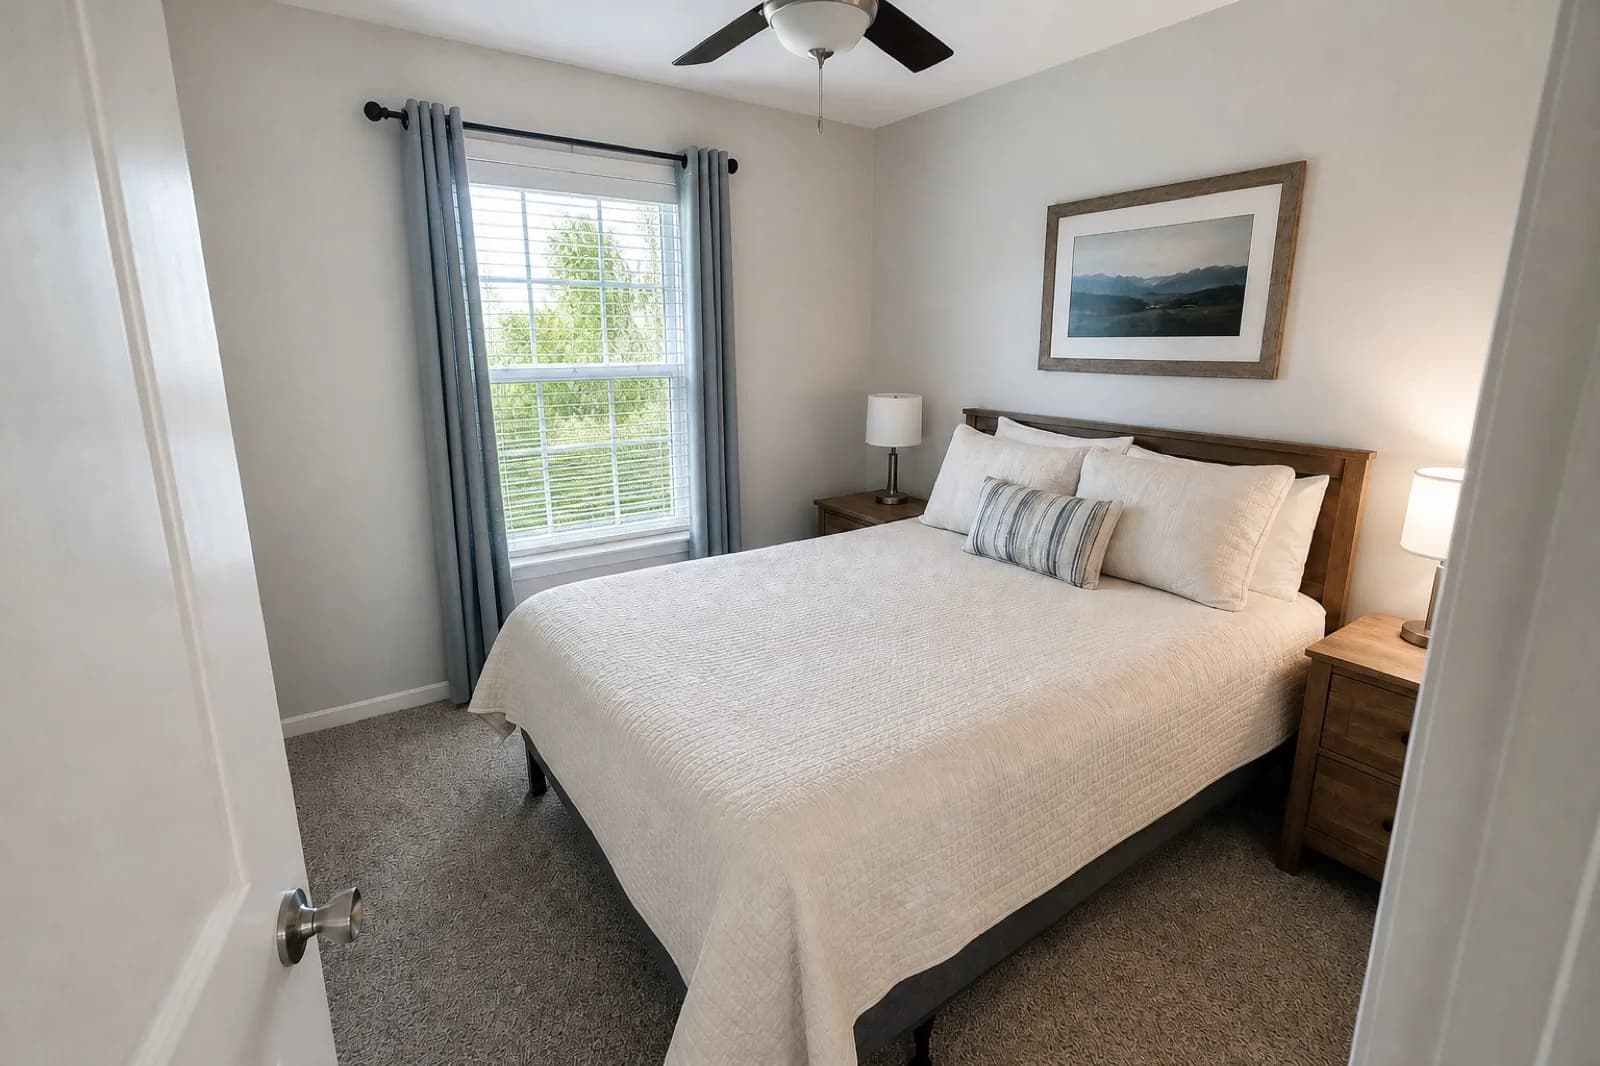
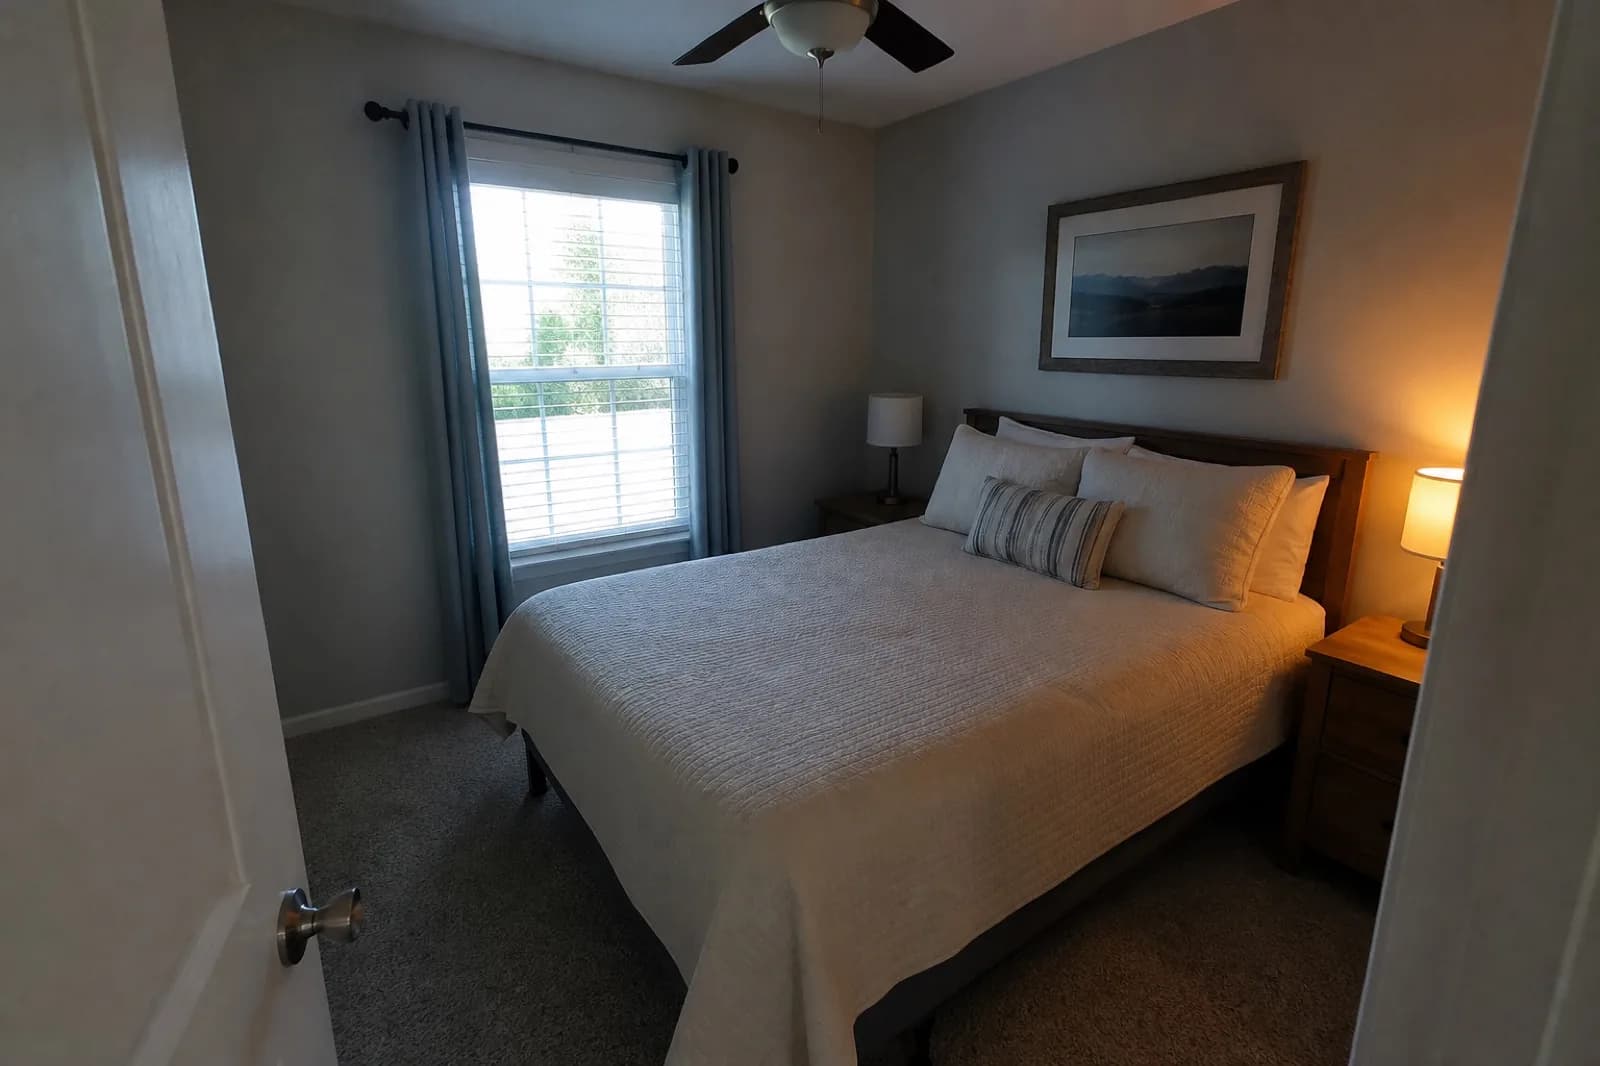
Representative bedroom demonstration created for ListPik. This is not a hotel client room or a measured booking result.
The problem
A bright window can leave the bed dark and the lamps orange.
A hotel room often combines daylight, warm bedside lamps, and a view that is much brighter than the interior. The camera exposes for one part and compromises the rest. Brightening the entire frame washes out the window, while a strong color filter can change the actual room finish.
Our method
Fix exposure and color, then verify the booked room.
Start with the full-resolution source, lift usable room detail without inventing a window view, and remove an unwanted color cast. Compare the result with the original before publication. Bed configuration, category features, accessibility details, and outlook must still match what guests can book.
A four-check hotel photo fix
First, open the original at full size. If the bed and room corners are merely underexposed, there may be detail to recover. If the bed is smeared by motion blur or the window is featureless white, a reshoot is safer than a synthetic repair. Second, correct the room exposure while keeping the window and light fixtures believable. Third, use a neutral surface such as white bedding to check color without turning warm lamps blue.
Fourth, compare the finished frame with the booked room category: the same bed type, furniture, accessible fittings, and window outlook must remain. Repeat the same review for each category. A uniform finish is useful only when guests can still see the differences they pay for.
- Check the original for usable shadow and highlight detail.
- Balance the bed and window without adding a view.
- Correct the color cast against a genuinely neutral surface.
- Verify room category facts before replacing any live photo.
Try a free manual correction on one room
A hotel photo fix does not always need AI. For a sharp original that is just too dark, use separate shadow and highlight controls in a free editor such as GIMP or Photos on a Mac. Make one small change at a time, compare against the original, then check the corrected room beside an unedited representative room. The dark-interior guide below walks through both free options.
Use the bedroom demonstration on this page as a review exercise, not as evidence of a hotel booking result. Count the beds, trace the furniture edges, compare bedding color, and inspect the window. A brighter room is only ready to publish once its details still describe the room category being sold.
| Room detail | Compare with the original | Reject or reshoot when |
|---|---|---|
| Bed setup | Bed count, size, and spacing | Twin beds merge or a bed appears larger. |
| Window outlook | Buildings, landscape, and window shape | The edit adds a view or hides neighboring structures. |
| Materials and condition | Paint, flooring, bedding, and visible wear | Color changes the finish or a defect disappears. |
| Accessibility | Grab rails, thresholds, fittings, and door clearance | A required feature is removed or cropped away. |
| Room category | Features actually guaranteed for that category | The image implies an upgrade the guest may not receive. |
The view changes by floor, and the photo does not
Hotels typically photograph one room per category and reuse it across every room in that category. That is normal and accepted, but it creates a specific risk when the photographed room is on the top floor with a sea view and the category includes rooms on the second floor facing the car park. The photograph is truthful about the room and misleading about the booking.
The workable answer is either to photograph a representative rather than the best room, or to be explicit in the room description about which views are and are not guaranteed. What enhancement must not do is make the photographed view more emphatic than it already is.
Accessibility features are part of the room
Grab rails, roll-in shower thresholds, wider door clearances, and lowered fittings are the reason an accessible room is booked. They are also visually distinctive in a way that clashes with a polished gallery, which is exactly why they sometimes get framed out. A guest who needs those features and cannot see them in the photograph has to call to confirm, and often books elsewhere instead.
Photograph accessible rooms as accessible rooms. The features are the selling point for the guest who needs them and irrelevant to everyone else, who will not be booking that category.
- Photograph a representative room in each category, not the best one
- Shoot the bed configuration the category actually guarantees
- Keep accessibility features clearly in frame for accessible categories
- Use the same time of day across categories so the finish matches
Where it fits
Use enhancement when the photograph is the problem.
The gallery looks like several hotels
Rooms were shot at different times on different cameras and need one finishing standard.
Categories are hard to tell apart
Over-processing has flattened the differences guests are paying for.
Supplemental photos are needed fast
The annual shoot is months away and rooms or amenities have changed since.
A three-part desk
Fast enough for the deadline. Deliberate enough for the listing.
- 01
Upload the original
Use the largest source file and choose an interior or exterior finishing direction.
- 02
Review the evidence
Inspect the result beside the source. The property should remain immediately recognizable.
- 03
Export with context
Download the approved image and follow the disclosure rules that apply to your listing.
Desk specification
What goes in, what comes back, and what to inspect.
Useful limits are part of a reliable workflow. Start from the best available source and approve the finished frame against visible property facts.
Before you publish
- Confirm bed configuration in the image matches what the category guarantees.
- Check accessibility features present in the source are still clearly visible.
- Compare the finish across categories — consistent, but not so uniform that categories merge.
- Verify the window outlook has not been brightened into a better aspect than the room has.
Specific answers
What to know before processing.
How do you fix a dark hotel room photo?+
Use the full-resolution original, lift recoverable room shadows while protecting the window, correct the color cast, and compare the result with the source. Reshoot if important areas are blurred or contain no usable detail.
Can one photo represent a whole room category?+
It is standard practice, but the room photographed should be representative rather than the best in the category, particularly where views differ by floor.
Should accessible rooms be photographed differently?+
They should be photographed with their accessibility features clearly visible. Those features are precisely what the guest booking that category is looking for.
How do we keep a gallery consistent across shoots?+
Apply the same restrained finishing standard and shoot at a similar time of day. Consistency should come from the processing, not from flattening the rooms.
Where do the fixed photos need to be uploaded?+
Everywhere guests see the old ones, not only your own website. Replace them in your Google Business Profile photos and in the photo section of each booking channel's extranet, such as Booking.com and Expedia. Google can take several days to show new photos, and photos uploaded by guests can be reported but not deleted.
Start with one frame
Let the comparison make the case.
Packs or optional monthly. One credit per finished photo. Review before you publish.
Open the studio