Home office photo enhancement
Show a workspace that would actually support a working day.
Handle dark monitors and window glare, keep cables and outlets visible, and let the frame say whether this is a room or a corner.
A workspace claim a remote worker can verify from the photo.
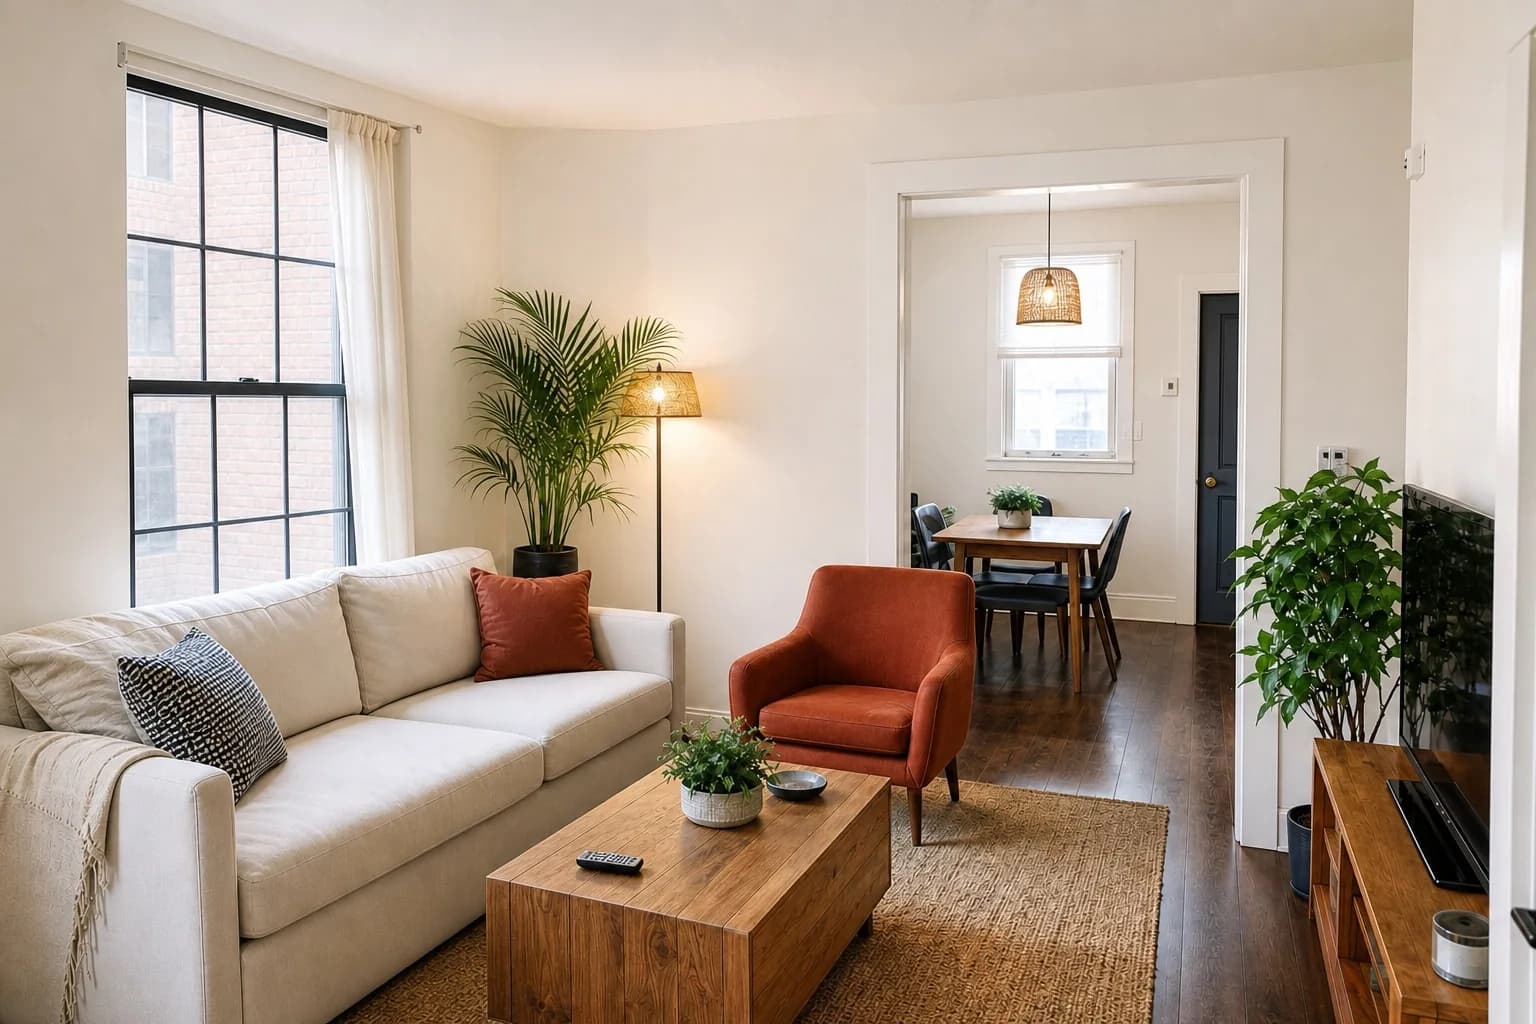
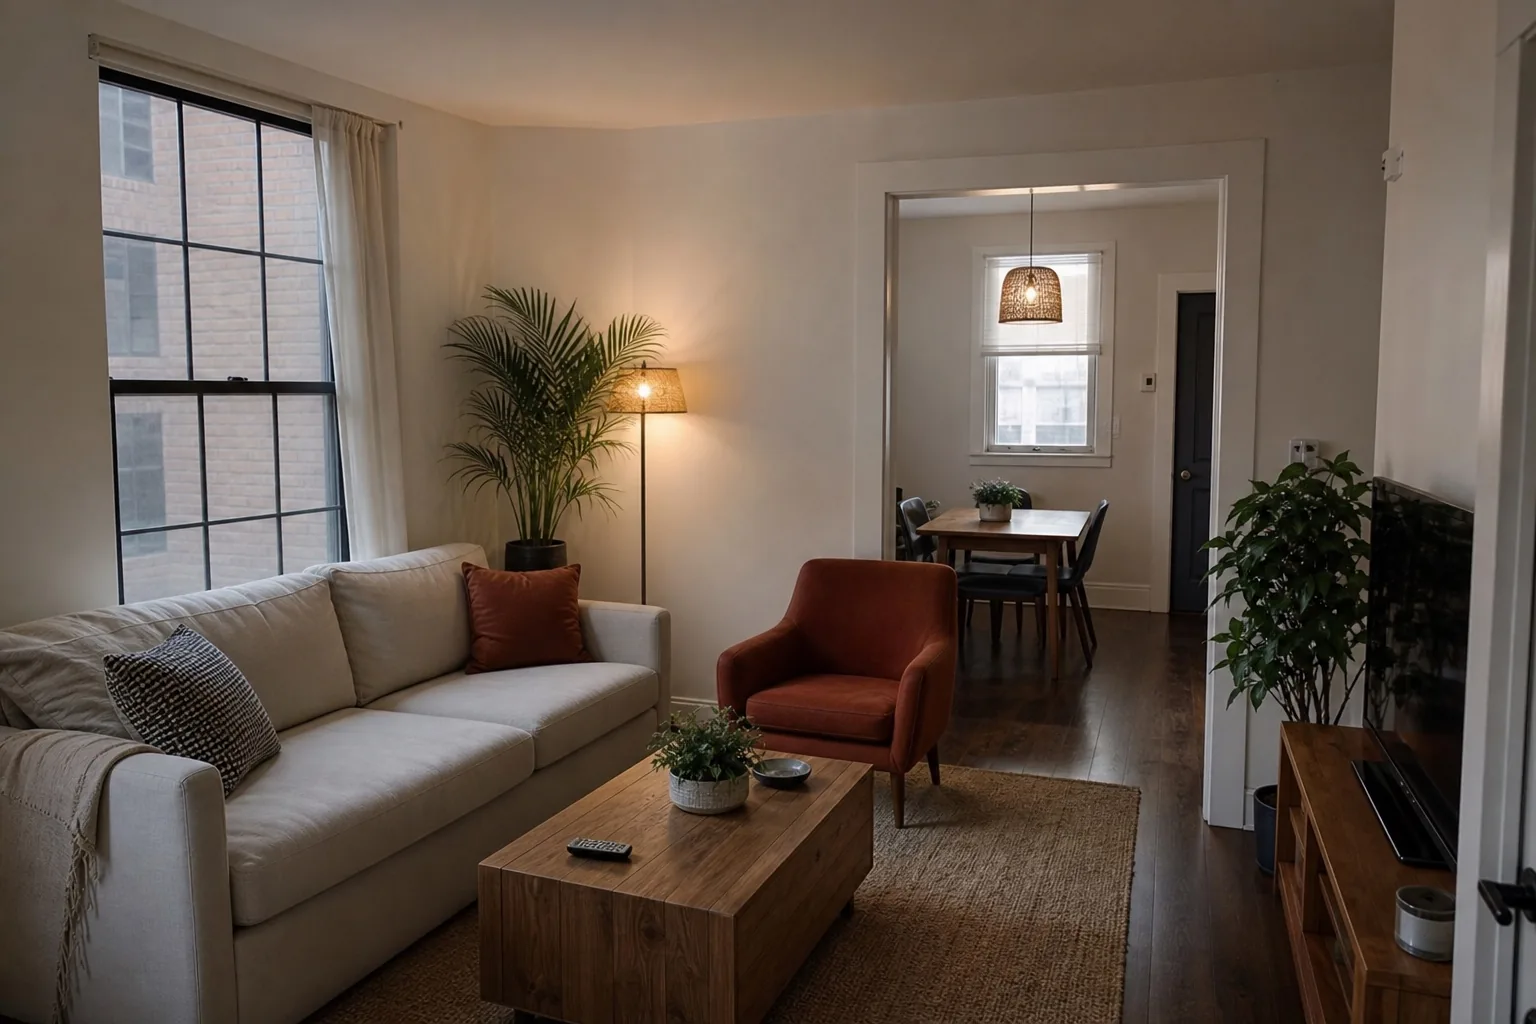
The problem
A desk in a photo is not evidence of a workspace.
Remote workers book on the strength of the workspace and arrive to find a decorative console table under a window with no power socket within reach. The photograph was accurate and still misleading, because it framed the desk tightly enough that none of the things that make a desk usable were in it.
Our method
Balance the screen against the room, and keep the context.
ListPik balances the dark rectangle of a monitor against the rest of the room without lifting the screen into a grey haze, and keeps clarity high enough that a power socket, a desk lamp, and a chair back remain identifiable. The useful home office photo is a wide one.
What a remote worker is looking for
The checklist is short and specific: a desk deep enough for a laptop and a notebook, a chair with a back that supports an eight-hour day, a power outlet within cable reach, light that does not fall directly behind the screen, and a door that closes if calls are involved. A photo that establishes four of those five is worth more than a beautifully lit photo that establishes one.
This makes the home office the room where wider framing beats tighter framing most decisively. The tempting shot is the desk with a plant and a laptop at a flattering angle. The useful shot is a step back, showing the desk against the wall it is actually against, with the socket and the chair and the window in the same frame.
Screens, glare, and cables
A switched-off monitor is a black void that pulls the camera's metering upward, and a switched-on one adds a blue cast and dates the photograph. Off is the right choice, handled locally so the room can be balanced without the screen turning grey. A screen that has been filled with a stock desktop image was not photographed, it was composited, and it does not belong in a listing.
Cables are the honest kind of clutter. A trailing extension lead is untidy but it is also evidence that power reaches the desk. Cleaning up cable clutter is reasonable; removing the extension lead that is the only power source is removing information the guest needs.
- Step back far enough to include the chair, the socket, and the window
- Switch monitors off and expose for the room
- Show whether the space is a dedicated room or a corner of a bedroom
- Include the door in frame if the room can be closed for calls
Where it fits
Use enhancement when the photograph is the problem.
The screen wrecked the metering
A dark monitor pulled the exposure and the room came out too bright or too dark.
The window is behind the desk
Backlighting has put the workspace in shadow against a blown window.
The workspace is genuinely usable
Nothing needs adding; the photo just needs to show the context that proves it.
A three-part desk
Fast enough for the deadline. Deliberate enough for the listing.
- 01
Upload the original
Use the largest source file and choose an interior or exterior finishing direction.
- 02
Review the evidence
Inspect the result beside the source. The property should remain immediately recognizable.
- 03
Export with context
Download the approved image and follow the disclosure rules that apply to your listing.
Desk specification
What goes in, what comes back, and what to inspect.
Useful limits are part of a reliable workflow. Start from the best available source and approve the finished frame against visible property facts.
Before you publish
- Confirm the frame still shows the chair, desk, and nearby power in one image.
- Check the monitor reads as an off screen, not a grey panel or an invented desktop.
- Verify cabling that constitutes the actual power supply is still visible.
- Confirm the photo does not imply a dedicated room when the desk is in a bedroom corner.
Specific answers
What to know before processing.
Should the monitor be on or off in listing photos?+
Off. An on screen adds a colour cast and dates the image, and a screen filled in afterwards is a composite rather than a photograph.
Can I photograph a desk in a bedroom as a home office?+
You can photograph it, but the frame should make clear it is a corner of a bedroom. Implying a dedicated room that does not exist is the complaint that follows.
Do I need to show the power outlets?+
It helps considerably. Remote workers check for power within cable reach, and a photo that answers it removes a pre-booking question.
Start with one frame
Let the comparison make the case.
Packs or optional monthly. One credit per finished photo. Review before you publish.
Open the studio